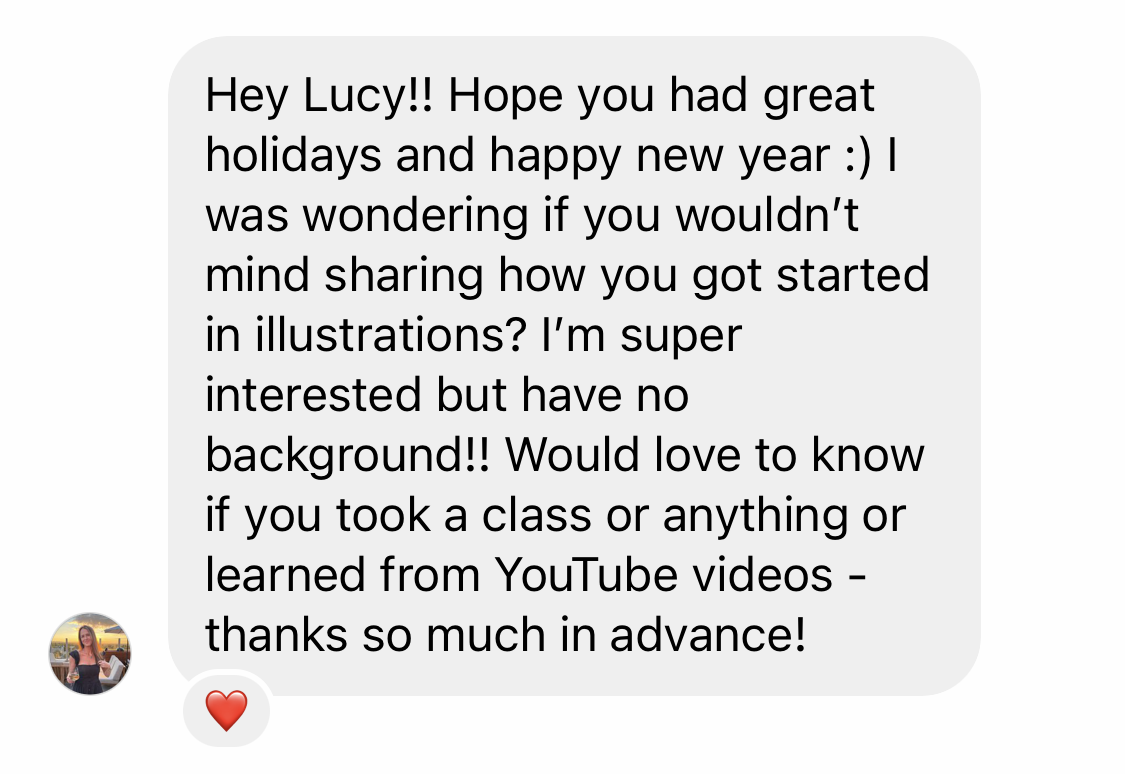
Direct message from my Instagram
I recently got this DM from someone on Instagram with the following question:
“I was wondering if you wouldn’t mind sharing how you got started in illustrations? I’m super interested but have no background!”
Here’s what I shared with her, and upon reflection, what I would add, and share with someone who is interested in illustration but may not know how to get started. I’ve divided up the list into a few different buckets.
Artists reading this, what would you add to the list?!
Media
Podcasts, courses, Instagram accounts to follow
This was one of my go-to podcasts in 2020. It’s hosted by 3 professional illustrators, who have also taught at the university level. They tend to ramble (warning), but I think the insight they have into being a professional artist is incredibly helpful. Sometimes it can skew more to the business of being an artist, so you may need to cherry-pick some of the episodes that seem more relevant to a beginner.
I will say they also tend to draw on experiences from illustrating books, but I think a lot can be learned from them no matter what area of the illustration industry you want to go into.
The hosts of Three Point Perspective also run an online art school called SVS Learn. Their entire goal is to provide a practical arts education at a much more affordable price.
I admittedly haven’t done much on SVS Learn, simply because I haven’t had the bandwidth. However, the one course I did do a couple of lessons from gave me tips for drawing that I use constantly!
Kevin Zych (@kevin_zych on Instagram)
Kevin is an artist living in NYC and does a lot of videos of him sketching live out in the city and on his travels. I think he does a great job of explaining how he approaches drawing a scene, and his tips are always simple and easy to employ.
And if you’re in New York, I believe he does some live classes!
Equipment
iPad and Apple Pencil
If you want to do digital illustration, I would highly recommend getting an iPad and Apple Pencil! The technology is amazing, though it does take a little time to get used to drawing on a screen rather than paper.
Important Note:
The Apple Pencil and iPad are great, but NOT necessary! Don’t let equipment stop you from starting to draw and illustrate. (For more on this topic, check out this blog post about creative gear).
When I got back into drawing and sketching in 2018, I started with my journal and a pen (granted, I do prefer inky pens - felt tip or ballpoint - but use whatever you have!).
I would draw what was around me - the plants across the way in the coffee shop I was in, the furniture across the room from where I was sitting in my bed or the puffy coat a flight attendant had draped over her suitcase in the airport.
Adobe Fresco and/or Procreate apps
I started using Fresco and haven’t quite made the leap to Procreate, but Procreate seems to be the gold standard these days.
Also Fresco is only good if you have an Adobe Creative Cloud subscription. Procreate is not connected to Adobe.
Tips and Tricks
Practice!
I truly believe this is the only way to get better at anything. If you’re starting from a very limited foundation as an illustrator, practice is the best - perhaps the only - way for you to get better at drawing.
Use photo references
I still use photo references for most of my work, so don’t be afraid to use them when/if trying to draw something specific, or draw something photo-realistically.
Tracing can be helpful
Sometimes tracing a photo can be helpful when you get stuck. I do it when my lines aren’t looking quite right, just so I can understand how a line is curving to make the shape I’m seeing in a photo
When in doubt, draw upside down!
My high school art teacher Mrs. Miller would always recommend turning your photo reference upside down if you were struggling to get your sketch right.
The benefit of this is that now you’re looking at lines, curves and shapes, instead of whatever your subject matter actually is.
Grids can help break your project down into smaller, bite-sized pieces
This may require a video tutorial to fully explain, but you can create a grid on your photo reference, and a corresponding grid on your paper (whether physical or digital), so now you’re looking at a series of boxes.
Now you can focus on just what’s in each box, instead of being overwhelmed by the entire image. I did this a ton when I was doing watercolor house portraits. The guides helped me to keep the proportions in check and also gave me a singular focal point as I worked to sketch the house.
Here’s a tutorial that shows what I’m talking about!
In Conclusion
I hope this list is helpful as your begin to learn how to illustrate! Obviously this is not an exhaustive list, and I’ll continue to add things as I find new and helpful resources for beginners. Like I said at the top, please send anything you think should be added! DM me on Instagram or send me a message using the contact form on my website.


